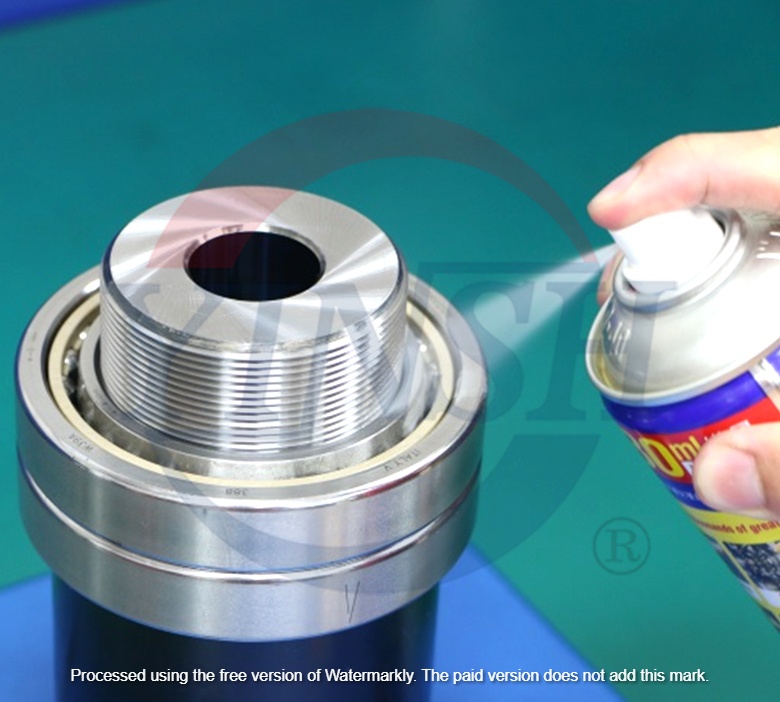
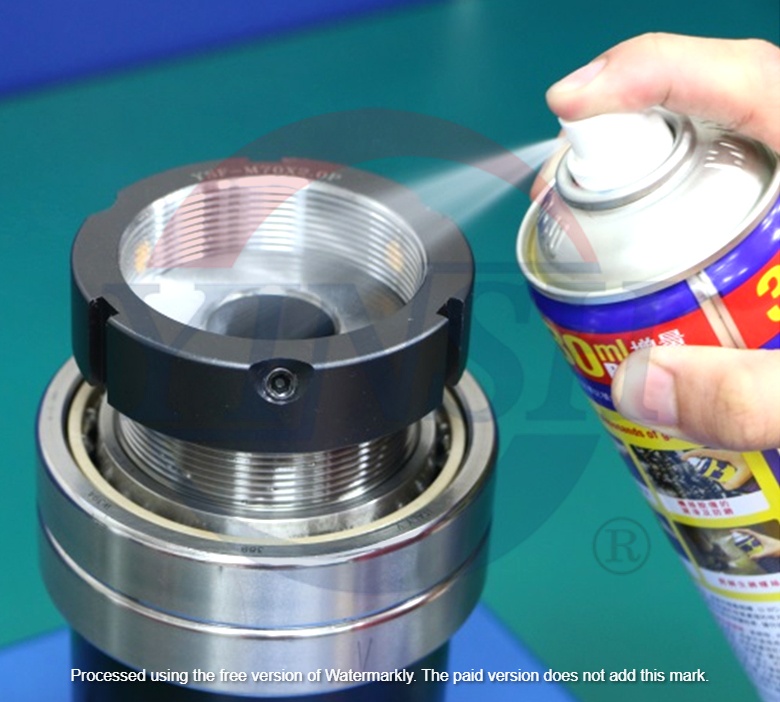
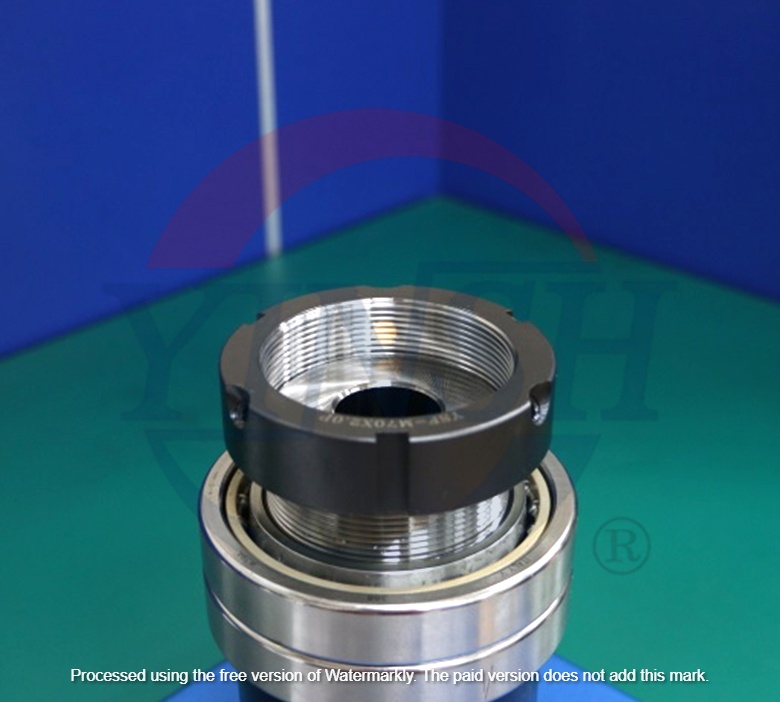
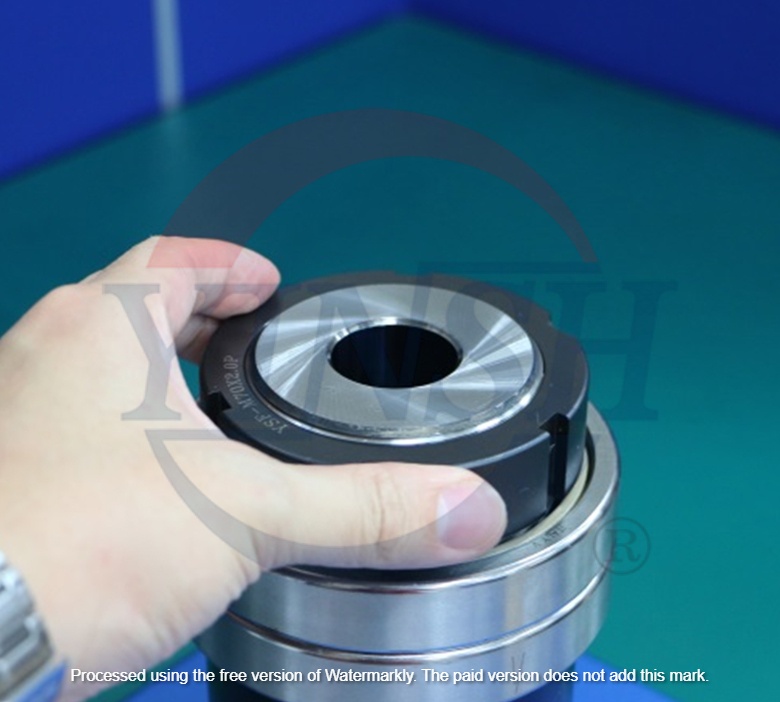
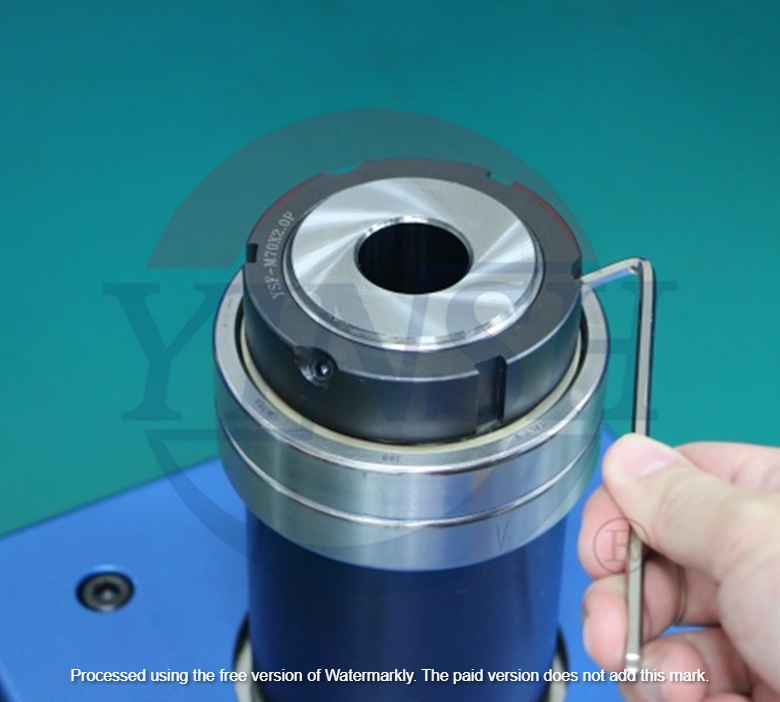
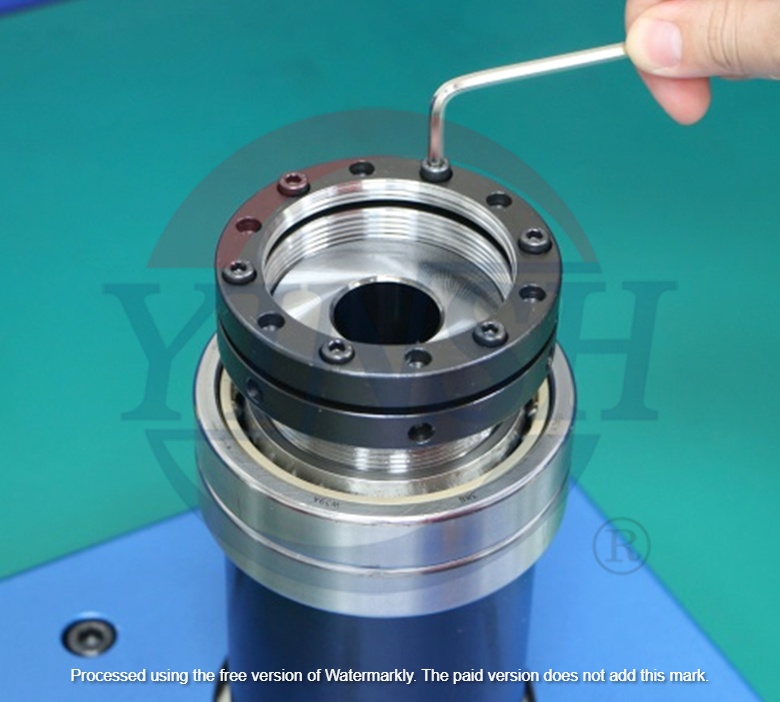
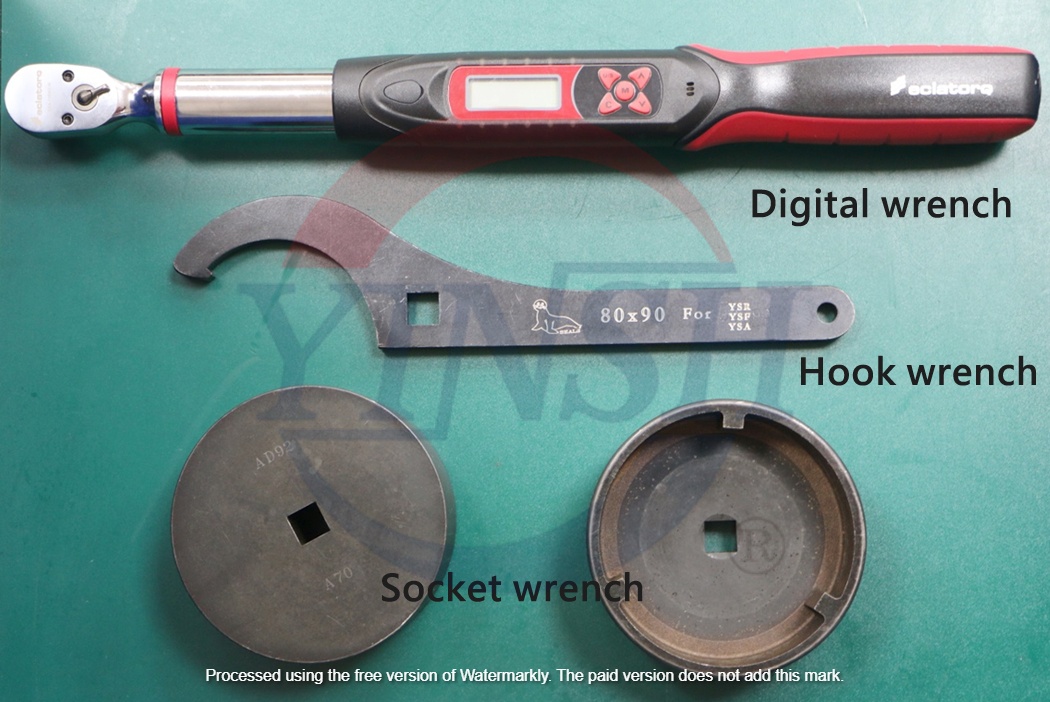
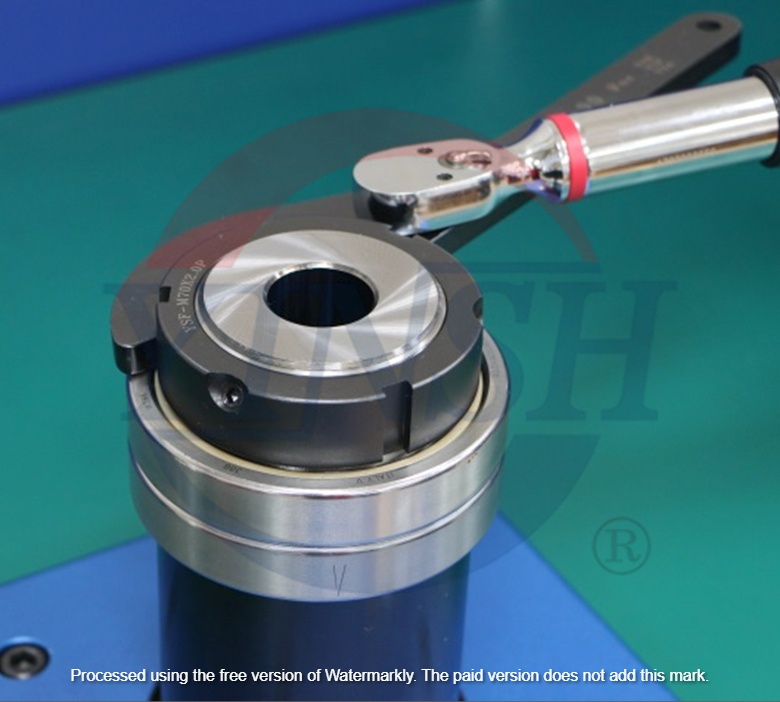
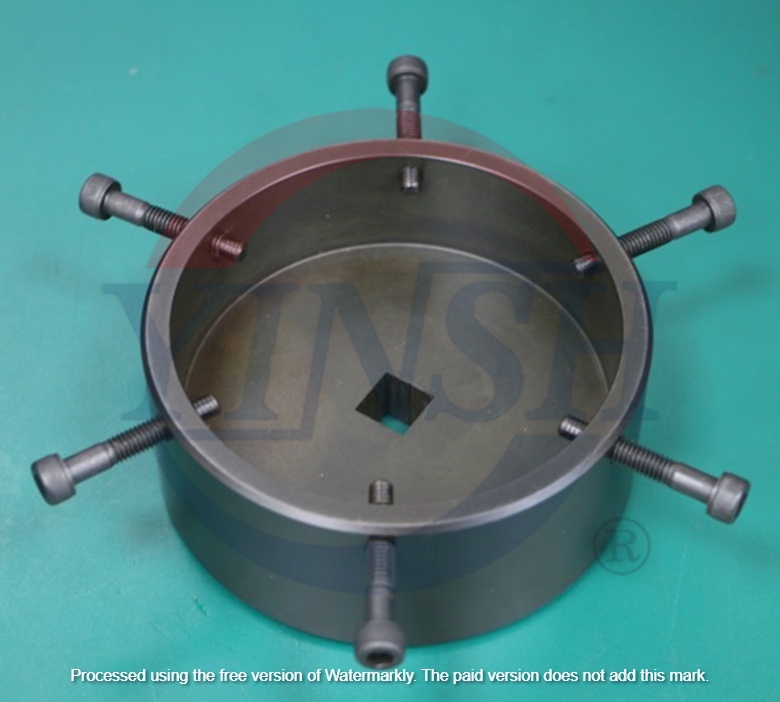
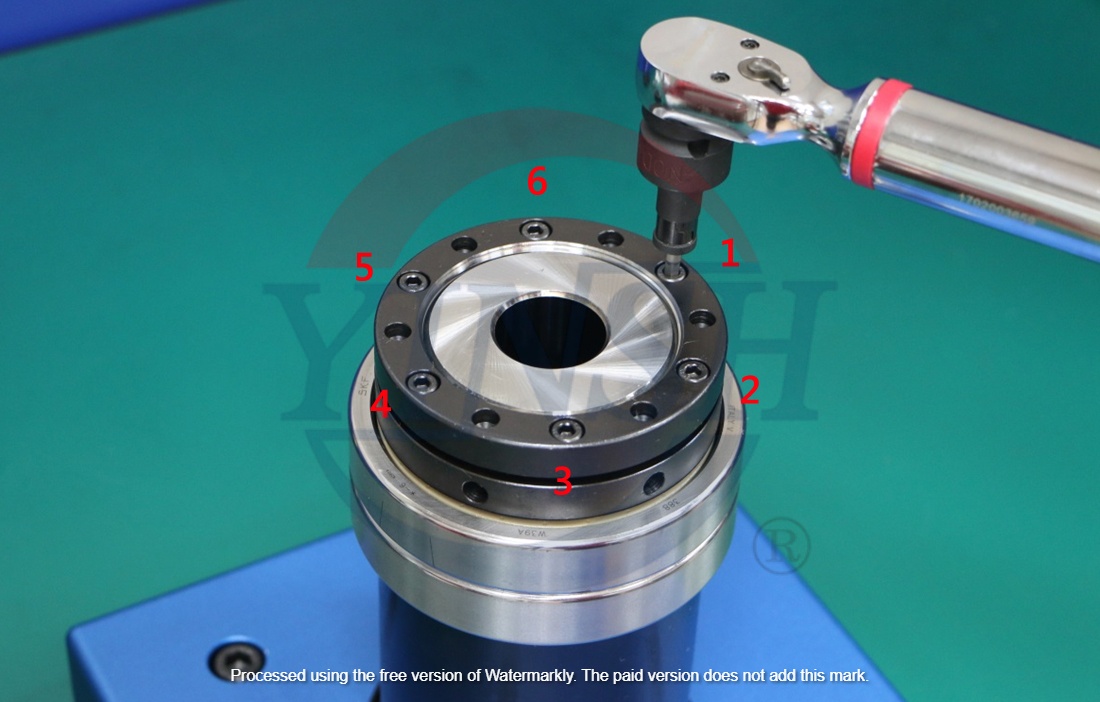
Assembly tools for precision locknut
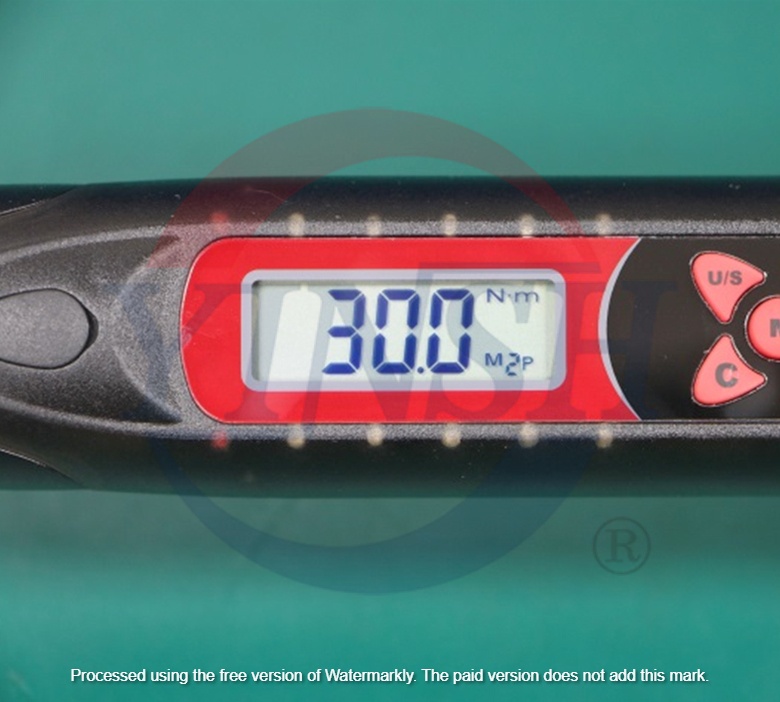
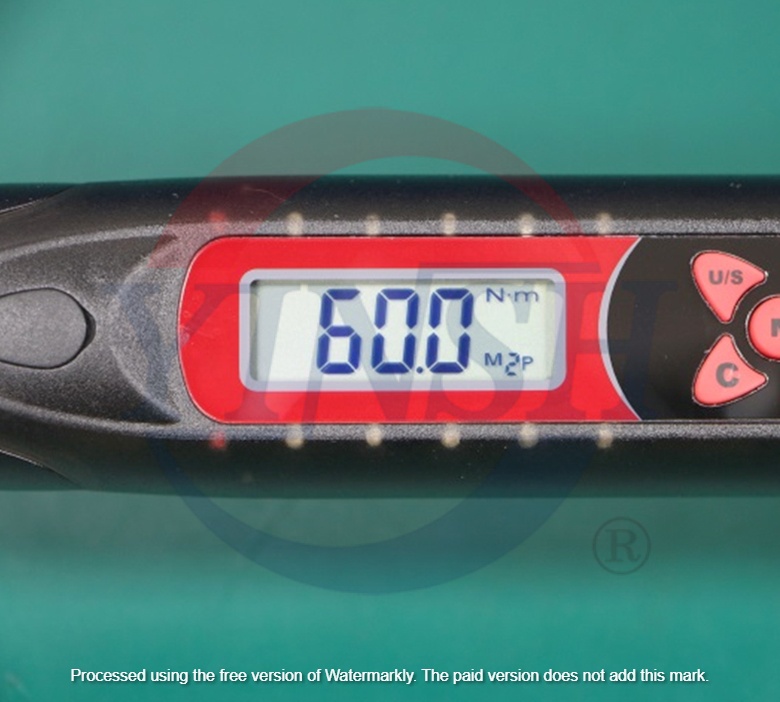
e.g. If the needed torque is 90N-m, divide it into 30N-m→60N-m→90N-m, then apply the torque as follow:
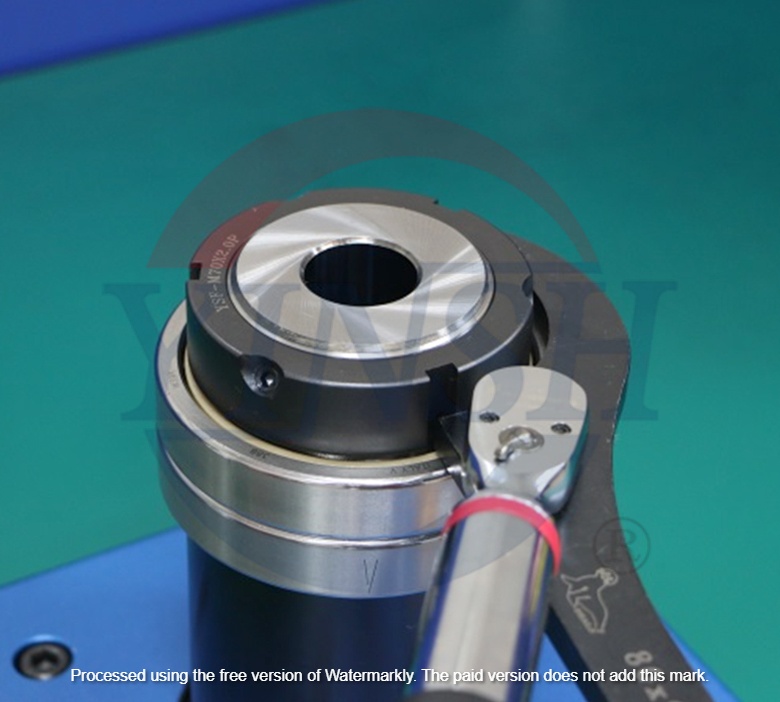
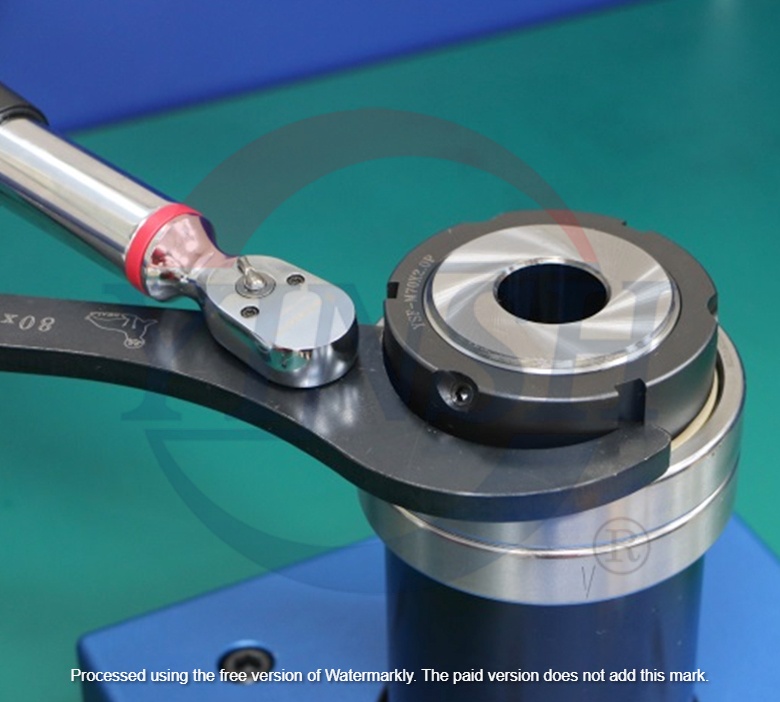

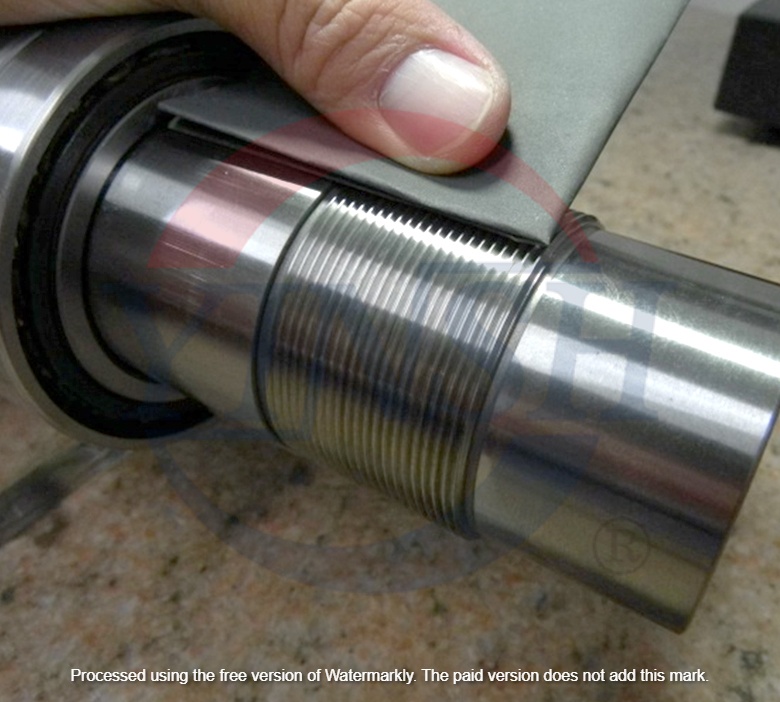
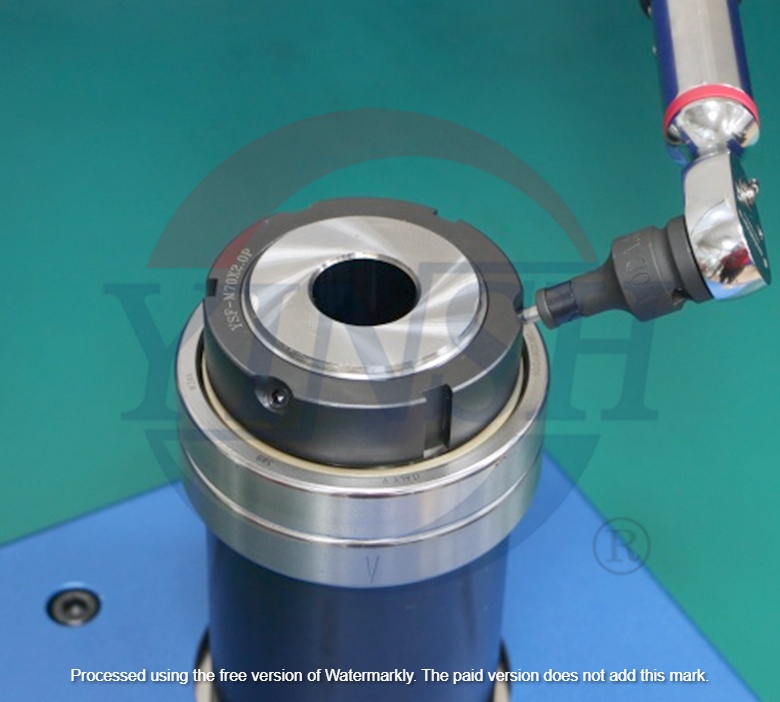
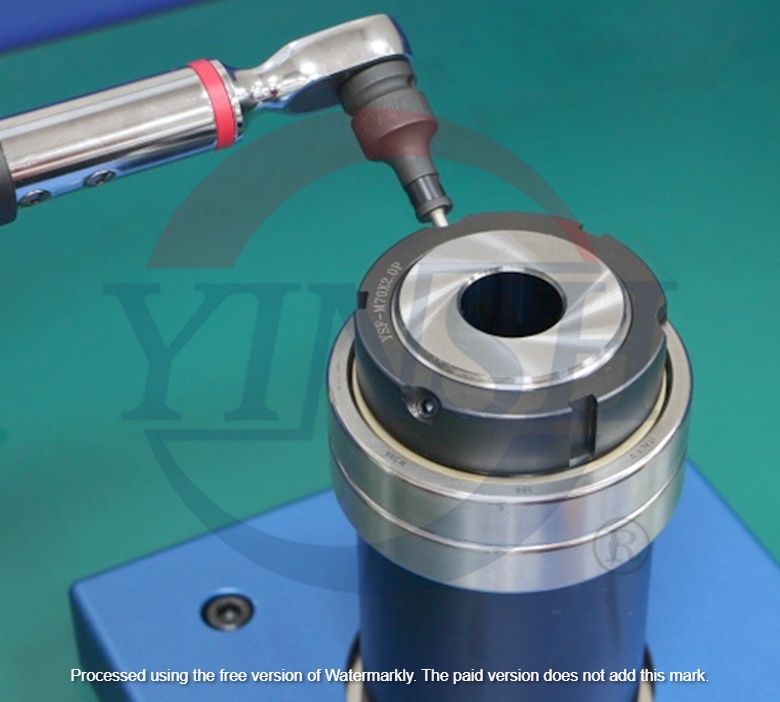
For YSK locknut, please use pin wrench collocate with digital wrench (left & right), and assembly the locknut according to above steps.

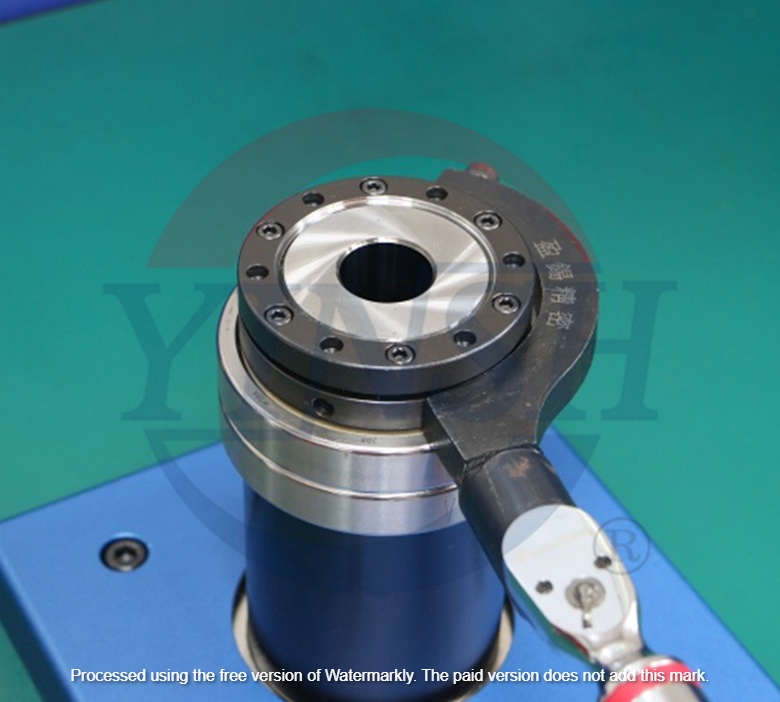
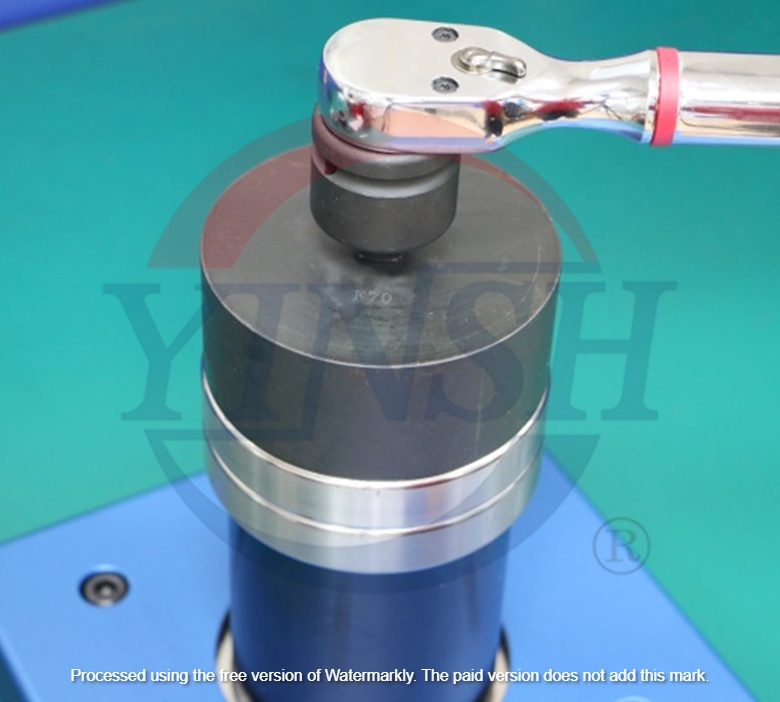
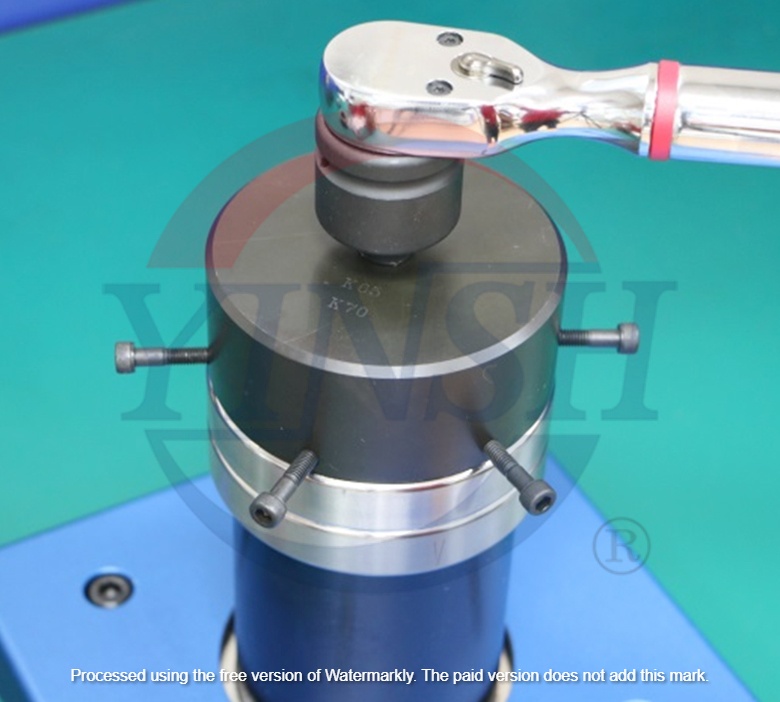
Use digital wrench collocate socket wrench (left & right), by this kind of wrench, you can apply the torque onto locknut equally, therefore, the needed torque can be applied directly.
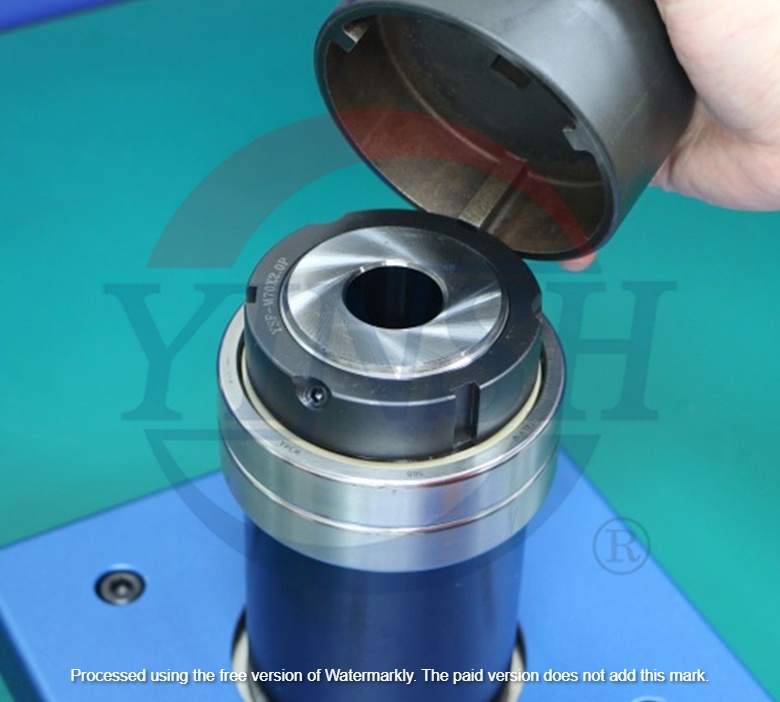
Socket wrench for YSK type
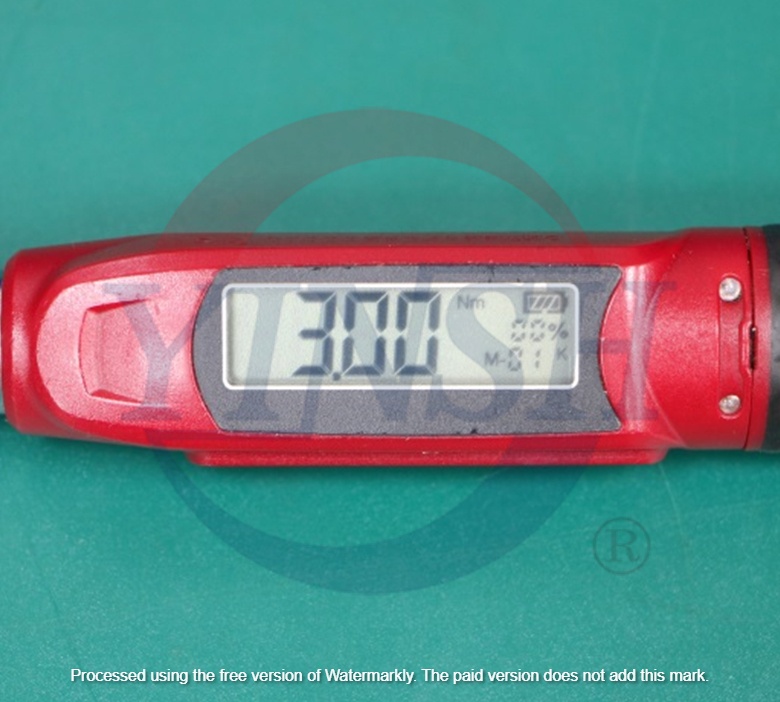
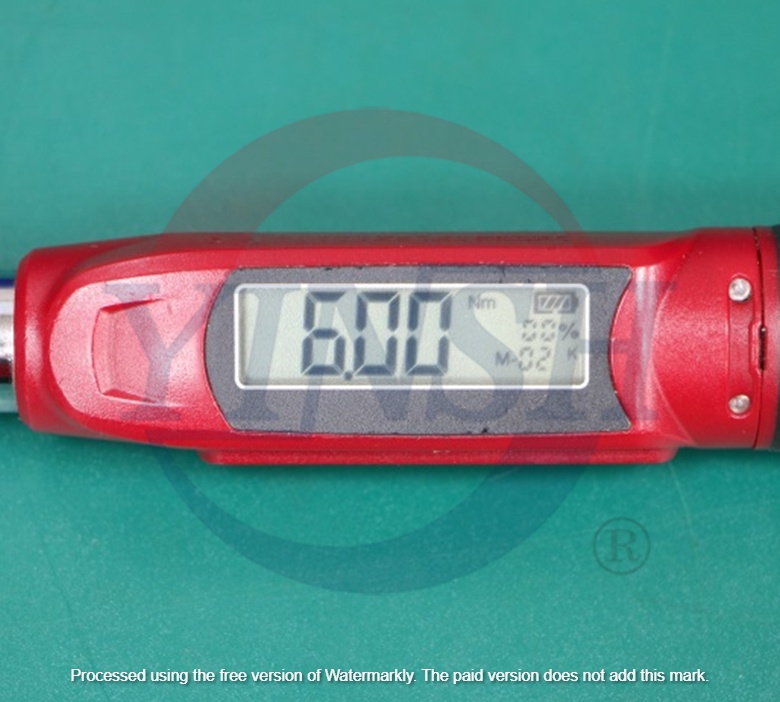
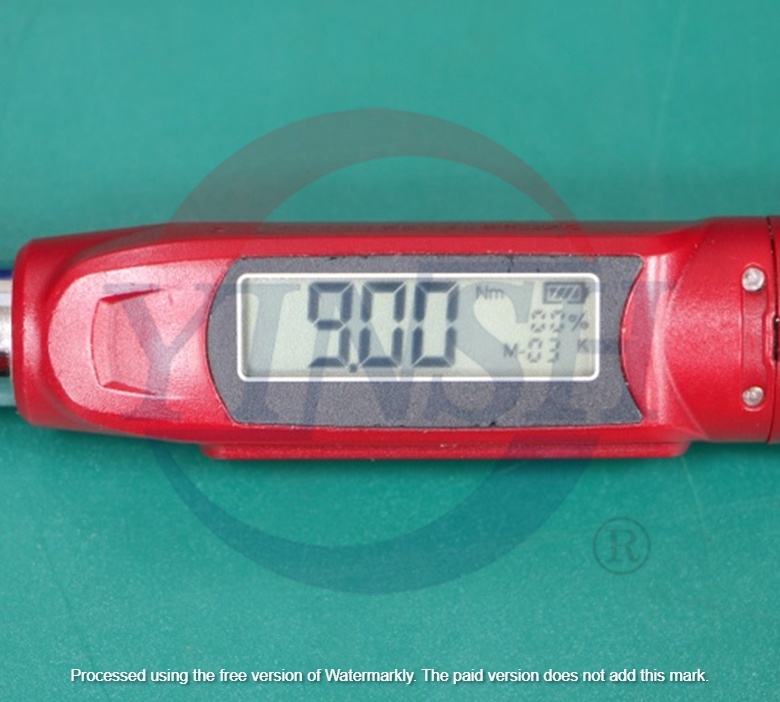
e.g. If the needed torque is 9N-m, dividing it into 3N-m→6N-m→9N-m, then apply the torque as follow:
e.g. If the needed torque is 9N-m, dividing it into 3N-m→6N-m→9N-m, then apply the torque as follow:
1. first, 3N-m on each groove
2. second, 6N-m on each groove
3. final, 9N-m on each groove
Follow above steps until reaching needed torque.
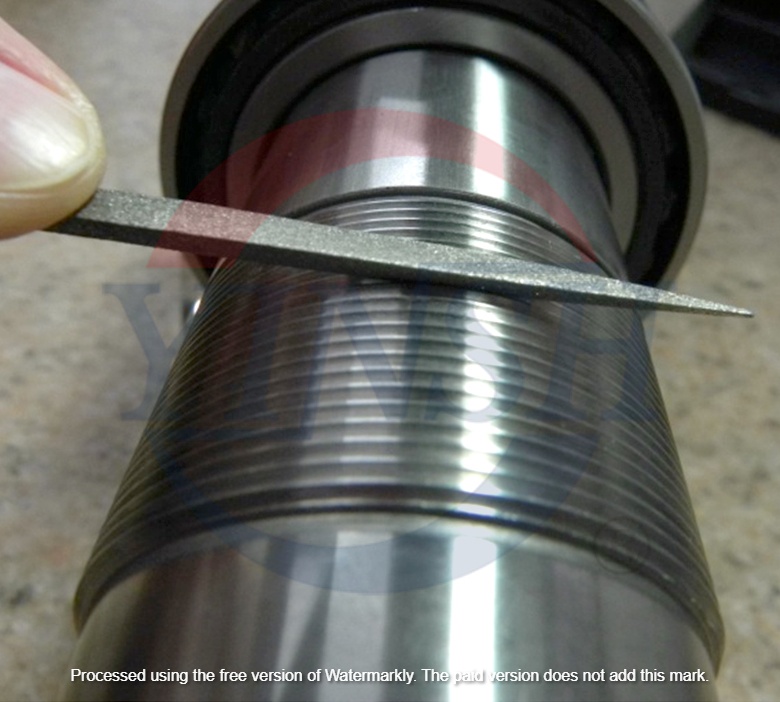
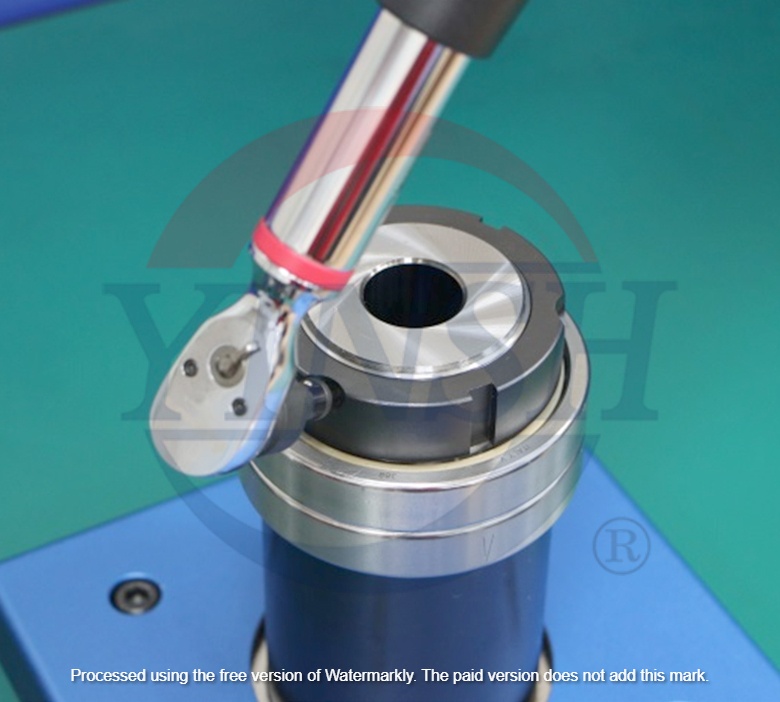
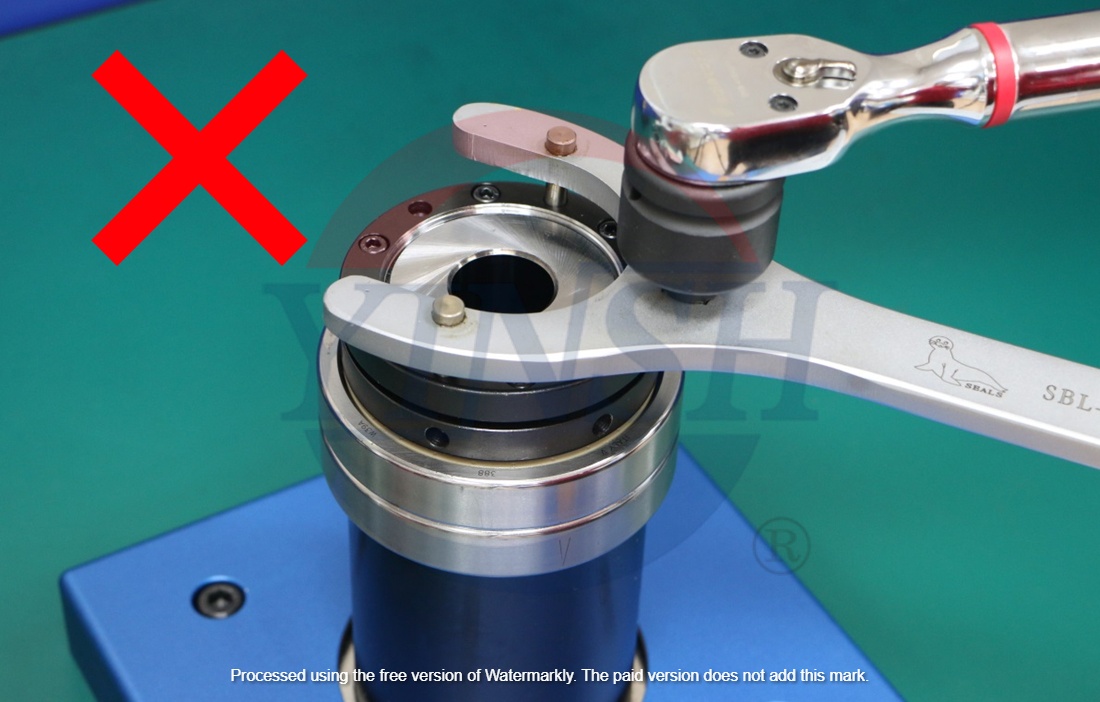
Applying the torque with U shaped wrench for YSK locknut is not recommended due to the locking way of this kind of locknut can cause deformation and leads thread seizing easily.
The torque can be influenced by many factors, e.g. the preload of bearing(ball screw), different kind of locknut, the accuracy, hardness, processing way of surface, even type of lubricant, therefore, there’s no specific torque value, the recommend torque value is for reference.
Should you have any questions in assembling locknut, please check YINSH website at Q & A section or please contact us directly, thank you!
No.26, Ln. 31, Sec. 1, Chongde 6th Rd., Beitun Dist., Taichung City 406, Taiwan (R.O.C.)
+886-4-2245-2402
Copyright © YINSH PRECISION INDUSTRIAL CO., LTD.
Designed by Machinetools Directory (S & J Corp.) Global Manufacturer Exhibition

